How do you solder electronic components? (2023)
For students and hobbyists who want to do the soldering for their school projects or DIY, soldering is an essential skill. Soldering is the process in which two metals join together by using a filler called solder.
Soldering makes electrical connectivity possible and opens a new world for people who want to create something. The soldering of electronic components can be challenging when you have no basic idea of soldering.
The first step is to pick the right tools for the soldering process such as soldering iron, solder wire, flux, soldering stand, sponge, circuit board, and desoldering tools. After collecting all the tools it’s time to start the soldering. Now prepare your workplace, plug in the soldering iron and clean its tip, insert the components in the circuit board, apply flux, heat the joints apply the solder to the joints and let it cool down.
A full guideline of how you should solder electronics components will be provided in this article.
Let’s get started.
How do you solder electronic components?
Having all soldering tools is essential for performing soldering or joining the different metals. In the next section, all the necessary tools will be discussed.
Required tools for soldering
It’s crucial to have the proper tools on hand while soldering electronic components. The following is a list of necessary tools for soldering electronic parts:
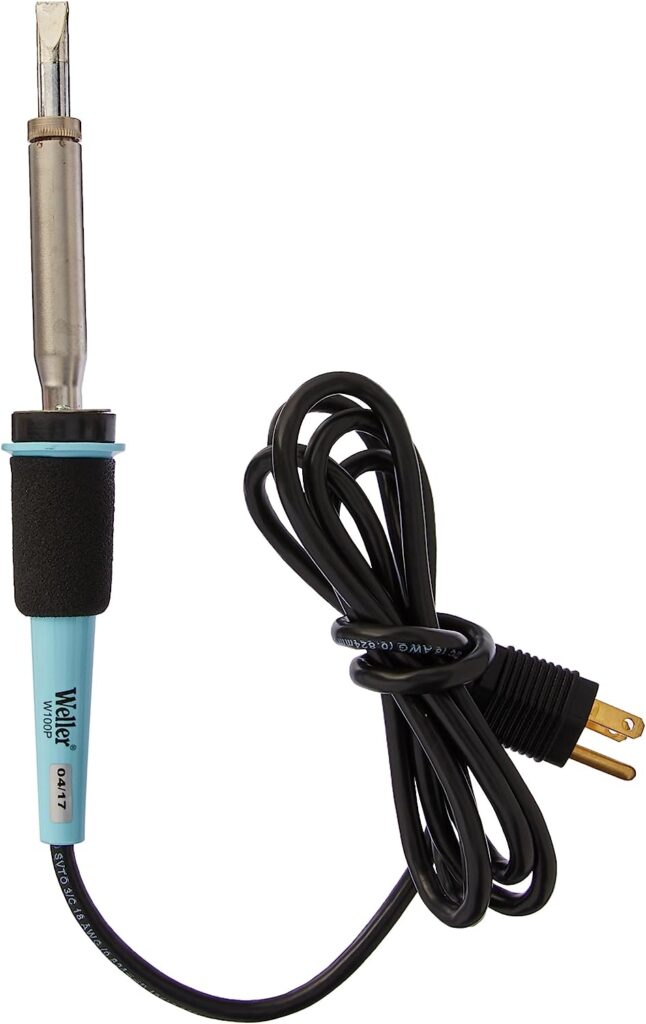
1. Soldering iron
Select a high-quality soldering iron with adjustable temperature and fine tip. A soldering iron with 40 to 60 watts is suitable for most electronics tasks.

The soldering iron with high wattage can cause overheating and damage to the components.
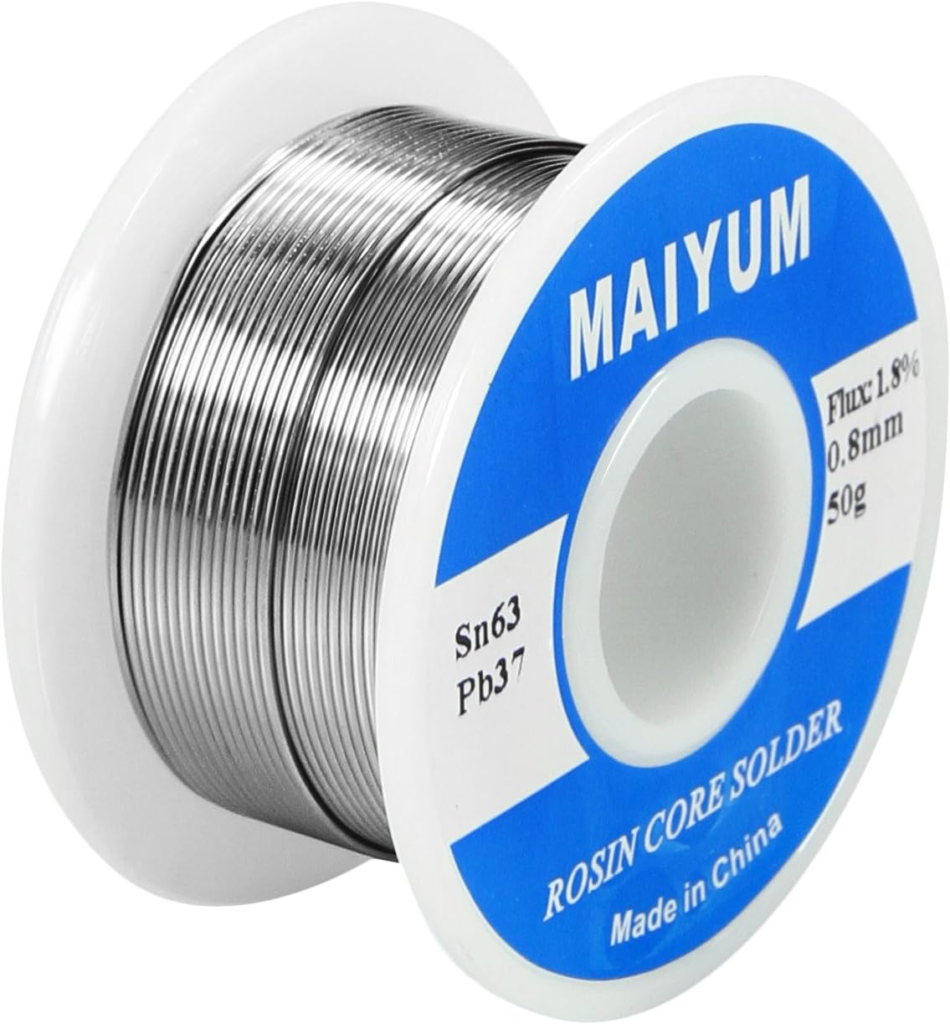
2. Solder wire
Pick a high-quality solder wire for soldering. The two types of solder are available lead-free and leaded solder.

The leaded solder required a low temperature to melt down as compared to lead-free solder. Choose the solder that best suits you.
3. Flux
Flux is a chemical compound used to remove oxidation and dirt. For cleaning the surface to be soldered and improving the flow of molten solder make use of flux.
You can use liquid flux or paste, depending on your personal preferences.
4. Soldering Stand
To provide a secure place to the heated soldering iron grab a soldering iron stand. Without a soldering stand, any burn or accident can happen.
When the soldering iron is hot and you place it on any inflammable material it can catch fire.
5. Damp or brass sponge
While performing soldering make sure the tip of the soldering iron is clean and oxidation free. Use a damp sponge or brass cleaner to clean the soldering iron tip between soldering joints.

This helps remove any residual solder or oxidation, ensuring better heat transfer.
6. Wire cutter
Also, grab the wire cutter which is essential for trimming component leads and wires to the desired length. If the length of the leads are not cut they may cause short circuit.
7. Desoldering pump
To correct a mistake or repair the fault connection keep the desoldering tools to yourself.

Sometimes wrong component can be soldered so having a desoldering pump or solder near you can help to desolder the component and correct the mistake.
8. Safety tools
Also, grab the safety tools. Safety is important, wear glasses to protect your eyes and gloves to keep your hand safe from any accidental spark.
While soldering a spark can be produced and it can release a solder splash that can damage your eye and hand.
How to solder electronic components
Let’s discuss the process of how you can solder electronic components.
1. Prepare the workplace
Make sure you work in a well-ventilated area and it has proper lighting which will help you to see joints. Also, take safety precautions, and wear glasses to protect your eyes from any solder spark.

Try to use heat-resistant gloves to make sure that your hands are safe.
2. Plug in your soldering iron
Now plug in your soldering iron and heat it. The different soldering iron has different temperatures and wattage. Generally, 40 to 60 watts of soldering are considered enough for small-duty projects.
The next step is heating the soldering iron.
3. Cleaning the tip
For better heat transfer and effective soldering the cleaning of the tip is crucial. Use a damp sponge and brass cleaner to clean the tip of the iron and remove the dirt and any other contamination.

After cleaning apply a fresh solder to the tip to avoid oxidation.
4. Prepare the components and circuit board
Follow the circuit diagram or the assembly instructions to determine the exact position of each component on the circuit board. Make sure the components are properly aligned before putting them through the correct holes.

The component leads may need to be slightly bent, taped, or secured with a helping hand tool to keep them in position.
5. Apply flux
Flux helps in removing oxidation and improves the flow of molten solder. Apply a small amount of flux to the joints.

Flux is available in various forms, such as flux gels or flux paste. It is especially important when working with oxidized or heavily tarnished surfaces.
6. Heat the joint
Now the next step is to heat the joint. With soldering iron heat the components and flux in place. Touch the soldering iron tip to the joint area, ensuring it contacts both the component lead and the circuit board pad.

Hold the soldering iron to heat the joint efficiently. The heat should be sufficient to melt the solder when applied.
7. Apply solder
Once the joint is heated, touch the solder wire to the joint, not the iron itself. The heat from the iron will cause the solder to melt and flow onto the joint.

Apply the solder to the junction, making sure to coat the circuit board pad and component lead equally. Enough solder should be used to make a solid connection without creating an excessive buildup.
8. Cooling
The next step is cooling, allowing the solder to cool down naturally. Moving or disturbing the joint before it cools can result in a weak or flawed connection. Once the joint has cooled, inspect it visually.
A good solder joint will be smooth and shiny. If you apply cold solder it will result in dull, lumpy joints. If you face any issues, reheat the joint and apply more solder as needed.
9. Clean the soldering iron
After completing each solder joint, clean the tip of the soldering iron again to remove any excess solder or flux residue. Repeat the process for each additional joint until you have soldered all the necessary components.
Conclusion
Soldering is a technique that needs practice and patience. By constant practice and analyzing your performance you can be able to create strong and reliable joints and will have good soldering experience.
Having the right tools such as a good soldering iron, high-quality solder wire, soldering stand, and flux can make soldering a little bit easier. Remember to always prioritise your safety and use safety glasses and gloves.
The whole process of soldering is described in the article by following each step you will be able to solder your electronics components.
Don’t be afraid and dive in and start your soldering journey.
Other useful posts:
